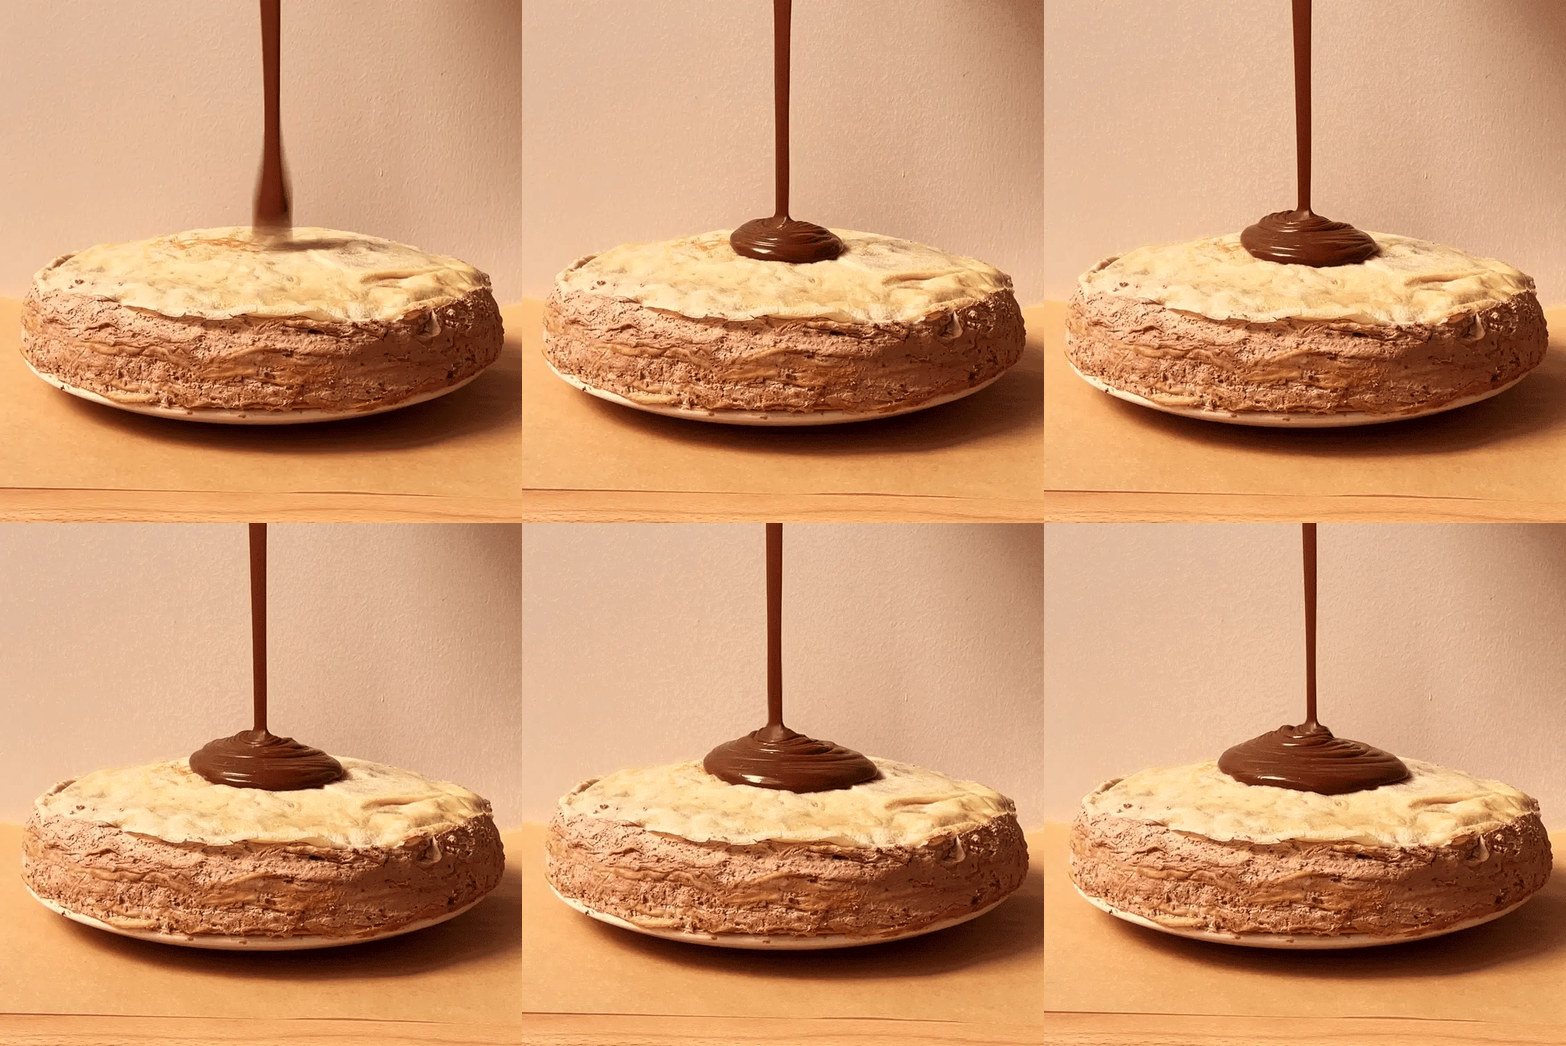

This Chocolate Mille Crepe is a showstopper
“A thousand crepes” (it's french translation ) layered with fluffy chocolate whipped cream and topped with a decadent chocolate ganache for another layer of luxury, it is incredibly impressive and relatively simple to make, requiring only a handful of ingredients.
The perfect cake to make ahead of time, it is sure to leave its onlookers wanting for more.
We have developed this recipe to be super easy and versatile to suit all dietary requirements. It’s also very low in sugar, decadent and light, leaving you ready to go back for more.
Crepe Batter
3 cups milk of choice
2 cups flour of choice (I used spelt)
6 eggs (use flax egg or egg replacer to bind)
1 tbsp vanilla
¼ cup olive oil
Pinch salt
Chocolate Whipped Cream
2 x 400ml coconut milk, chilled (or 600g thickened cream)
¼ cup sifted cocoa or higher being
½ cup maple syrup
2 tsp vanilla
Ganache
250ml coconut cream (or thickened cream)
250g dark chocolate, chopped roughly
Method
- In a large bowl, combine crepe ingredients and whisk thoroughly to remove any lumps. Ensure batter is nice and runny, it should be liquid in nature with the texture of thickened cream. Rest for at least 1 hr before cooking (you can also make batter the day before, just bring to room temperature after storing in the fridge before cooking).
- Place the crepe pan on medium low heat and brush lightly with melted butter or neutral oil, you can use a paper towel or pastry brush for this.
- Pour ¼ cup of crepe batter into centre of the pan and tilt in circular motion to evenly cover the base, ensuring each crepe is uniform in size. Cook for roughly 2 minutes or until lightly golden before flipping with a palette knife or spatula, continue cooking for another 30 seconds and then remove from pan to place on large plate. Repeat with remainder of the batter, you should have roughly 18 crepes.
- Leave crepes to cool before assembling, you can cook the day before and leave in the fridge, make sure they are stored in an airtight container to avoid drying out.
- If using coconut milk, spoon out the firm cream at top of can, reserving the liquid for another use. Place cream (coconut or dairy) into large bowl and whisk until soft peaks form. Add cocoa, maple and vanilla and continue to whisk until thick and creamy.
- Once crepes are cool, begin assembling. Spread a spoonful of whipped cream onto the serving plate and lay down your first crepe, centered on the plate. Top with a thin layer or whipped cream and spread evenly to edges. Repeat with the remainder of the crepes and cream, leaving the last crepe without any cream on top.
- Place cake in fridge for at least an hour, allowing it to firm up.
- In a medium saucepan on low heat, heat cream until you can see it simmering a little around the edges. Pour in chocolate and whisk until melted, taking off the heat. Leave to cool.
- Once the ganache is cooled, remove cake from fridge/freezer and pour the ganache over the cake, using a spatula to spread evenly and smooth along sides. Return to fridge to set for at least another hour before serving. Enjoy!
Notes
-
Be sure to cook crepes on low heat and not for too long as this can lead them to turn rubbery and the cake to be hard/chewy in texture.
-
Make sure the ganache isn’t hot when you pour over the assembled cake as it will melt the whipped cream layers.
-
Feel free to play with the flavor combinations, for example you could combine a berry coulis with the cream in the layers rather than cocoa.
-
If your crepes are all different sizes, use a plate/bowl as a stencil and trim to size to ensure the cake is uniform.


